Screen recording is receiving enormous popularity all around because right now, it is a lifesaver and time saver too. During a video call or any conversation with any important person on a laptop or PC, individuals can simply turn on the screen recording feature and get a copy of the same. It helps them to have a backup of that particular conversation. Are you searching for a free screen recorder for Windows PC?
There are various screen recorders available, but iFun Screen Recorder has gained popularity globally. If you have no idea what this one is all about, here we share details for the same.
What is iFun Screen Recorder?
iFun Screen Recorder is a free tool that allows users to record the screen anytime. It doesn’t matter whether you are engaged in any conversation or something else or if you are watching any movie, the screen recording feature can help you. No limitations are imposed on the user considering the time duration for the recording. Additionally, watermarks and ads are also not there to annoy the user. It is safe to use the screen recorder option available for PC.
Features of iFun Screen Recorder
The features making iFun Screen Recorder a must choice around are as follows:-
Flexible screen capture:
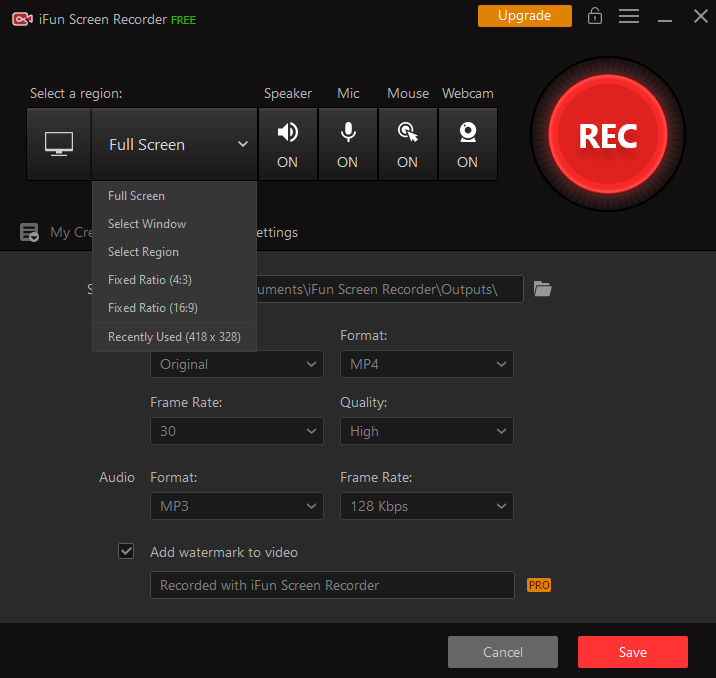
It allows the user to record the things they wanted. There is no limitation imposed that they need to record the complete video. If there is a particular part they want to record, they can simply utilise it and get a copy of the same.
Screenshots in between recording:
If you want to take screenshots in between, the option is there with you. This screen recording tool allows you to capture the screenshot simultaneously, and there will be no need for you to pause the screen recording for a while.
Facecam recording:
iFun Screen Recorder also offers you a facecam recording option. It helps you to record your face in a video whenever required. Sometimes during online classes, it is essential to have the same available, and this tool will help you get it easily.
No ads in between:
When this recording tool is completing its task, there will be no ads in between. One can consider it as an ad-free tool available.
No Lagging while HD recording:
During a duty recording as well, there will be no lagging. This indicates that it will contribute to a smooth recording possible, and you will not face any trouble at all.
Screen recording with audio:
Some screen recording tools do not focus on audio, but iFun Screen Recorder focuses on audio. You will record the screen and audio, which indicates that not even a single instruction will be missed.
Editing of screen recording:
If you want to do any of the screen recording editings you have done, the option is also there. The basic editing features are also there available, and you just need to utilise them.
Multi-purpose one:
The best part is it is a multipurpose one. It doesn’t matter whether you want to utilise the same for educational purpose, for work and the sake of entertainment. It will work efficiently in all those scenarios.
Free to use:
This tool is free to use as well. There will be no need for users to pay a very heavy amount for the sake of subscription. They just need to get the tool, and after it, they can use it.
Easy to use:
There is no need for a user to apply any Rocket Science for understanding its usage. It comes up with a straightforward interface that helps them to use it effortlessly.
How to record Windows PC screen by iFun Screen Recorder Tool?
Very simple steps are there a user needs to follow after having the same. But before moving ahead to do, it is essential to get an iFun Screen Recorder in your device. After it, the steps are as follows:-
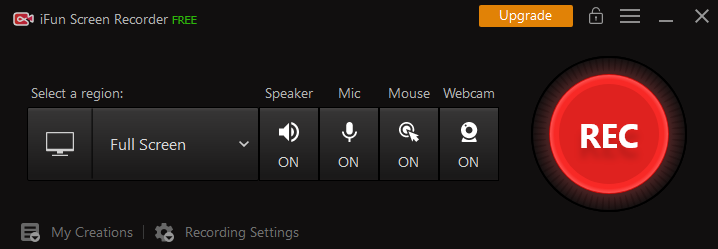
- At the very first, you need to select the area on the screen. The area implies the section you want to record, and along with the same, choose the audio settings.

2. After choosing the audio settings, start recording the screen and pay attention to every setting that appeared on the screen.

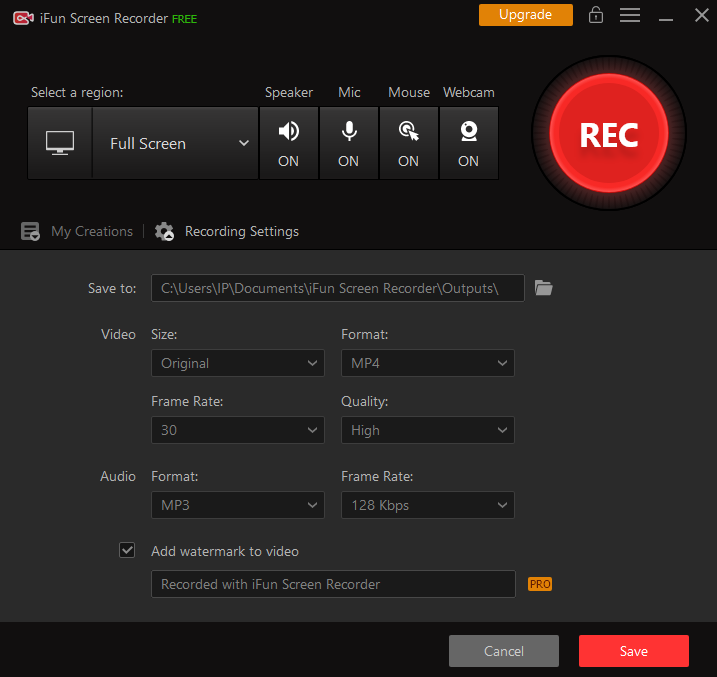
3. When the recording has been done, save the recording in any of the formats you like, and later on, you can edit the same.

These are the simple steps a user needs to follow whenever they want to utilize when you have iFun Screen Recorder for how to record screen on Windows 10. Make sure you are keeping all the settings in your mind whenever customizing the same because in case you have missed on to any of the settings, problems will arise.
FAQ:-
Is it possible to take screenshots in between recording?
Yes. A user can take screenshots in between. They just need to utilise the print screen key for doing so.
Is it possible to change the format of the video while saving it?
Yes. iFun Screen Recorder offers the user option to select the converting format. It supports more than 12 output formats for storage, and accordingly, a user can go for any of them.
Do I need to deal with watermarks as well?
Fortunately, with the tool, there will be no need for you to deal with unnecessary watermarks. The screen recording will appear to be clean without any watermark.
Is it possible to share the recorded video?
If a user is looking forward to sharing the recorded video, they can simply do it. It can be shared to different portals like YouTube, Facebook, Instagram, Twitter and so on as per their requirement.
Conclusion:
Here we have come to an end and shared all the details about the iFun Screen Recorder. It depends on the user how they want to utilize the same because it is one of the most flexible tools available for screen recording, which is sufficient to Cater to all users’ needs. Make sure to understand its usage in detail so that there will be no such problem whenever you are utilizing the same.
